A while ago now I made a bombed out farm house so we could use it in the 'Rescue the Colonel' scenario. It was always my intention to put together a blog post on how I did it but I never got around to it. So as I've got a tiny bit of spare time on my hands I decided to post about it now.
 |
| This is the downloaded and printed French farm house which can be found Here |
 |
| it's a nice easy kit and comes with instructions on how to assemble and how to print in 20mm and 15mm scales. |
 |
| front and back are identical |
 |
| the kit has a seperate roof and a small lean too for the front if you want. |
 |
| The completed basic model |
 |
| I built this to get a feel for how the house looked and so I could compare it size wise to my 20mm (1/72) figures and to the grid on the airfix battles mat. |
 |
| Having made the basic house I was ready to create the ruined version. Here I've got a couple of copies of the house printed out, various pieces of mounting card which I got from Hobby Craft, some thin strips of Balsa wood approx 3mm x 3mm a metal ruler a sharp knife, the Airfix Battles mat and a selection of brick papers from Here |
 |
| To create the base I measured the size of the grid and cut the mounting board to fit. |
 |
| I then copied the outline for the farmhouse onto the mounting card and drew in the areas where I wanted damage. You'll notice that the gable has been cut with a rebate to accept the front and back walls |
 |
| I kept test fitting the pieces throughout the process to make sure everything fitted together and looked right. |
 |
| Once all of the pieces were cut out I made sure that they fitted together and looked ok. |
 |
| Next I covered the external walls in brick papermaking sure that the paper applied to the gable overhung slightly so it would cover up the ends of the front and back walls. |
 |
| The inside of the Farmhouse received a flagstone floor courtesy of Wordsworth Model Railway |
 |
 |
| Here you can see how the overhang on the gable covers the ends of the front and back (the back isn't quite square on this photo) |
 |
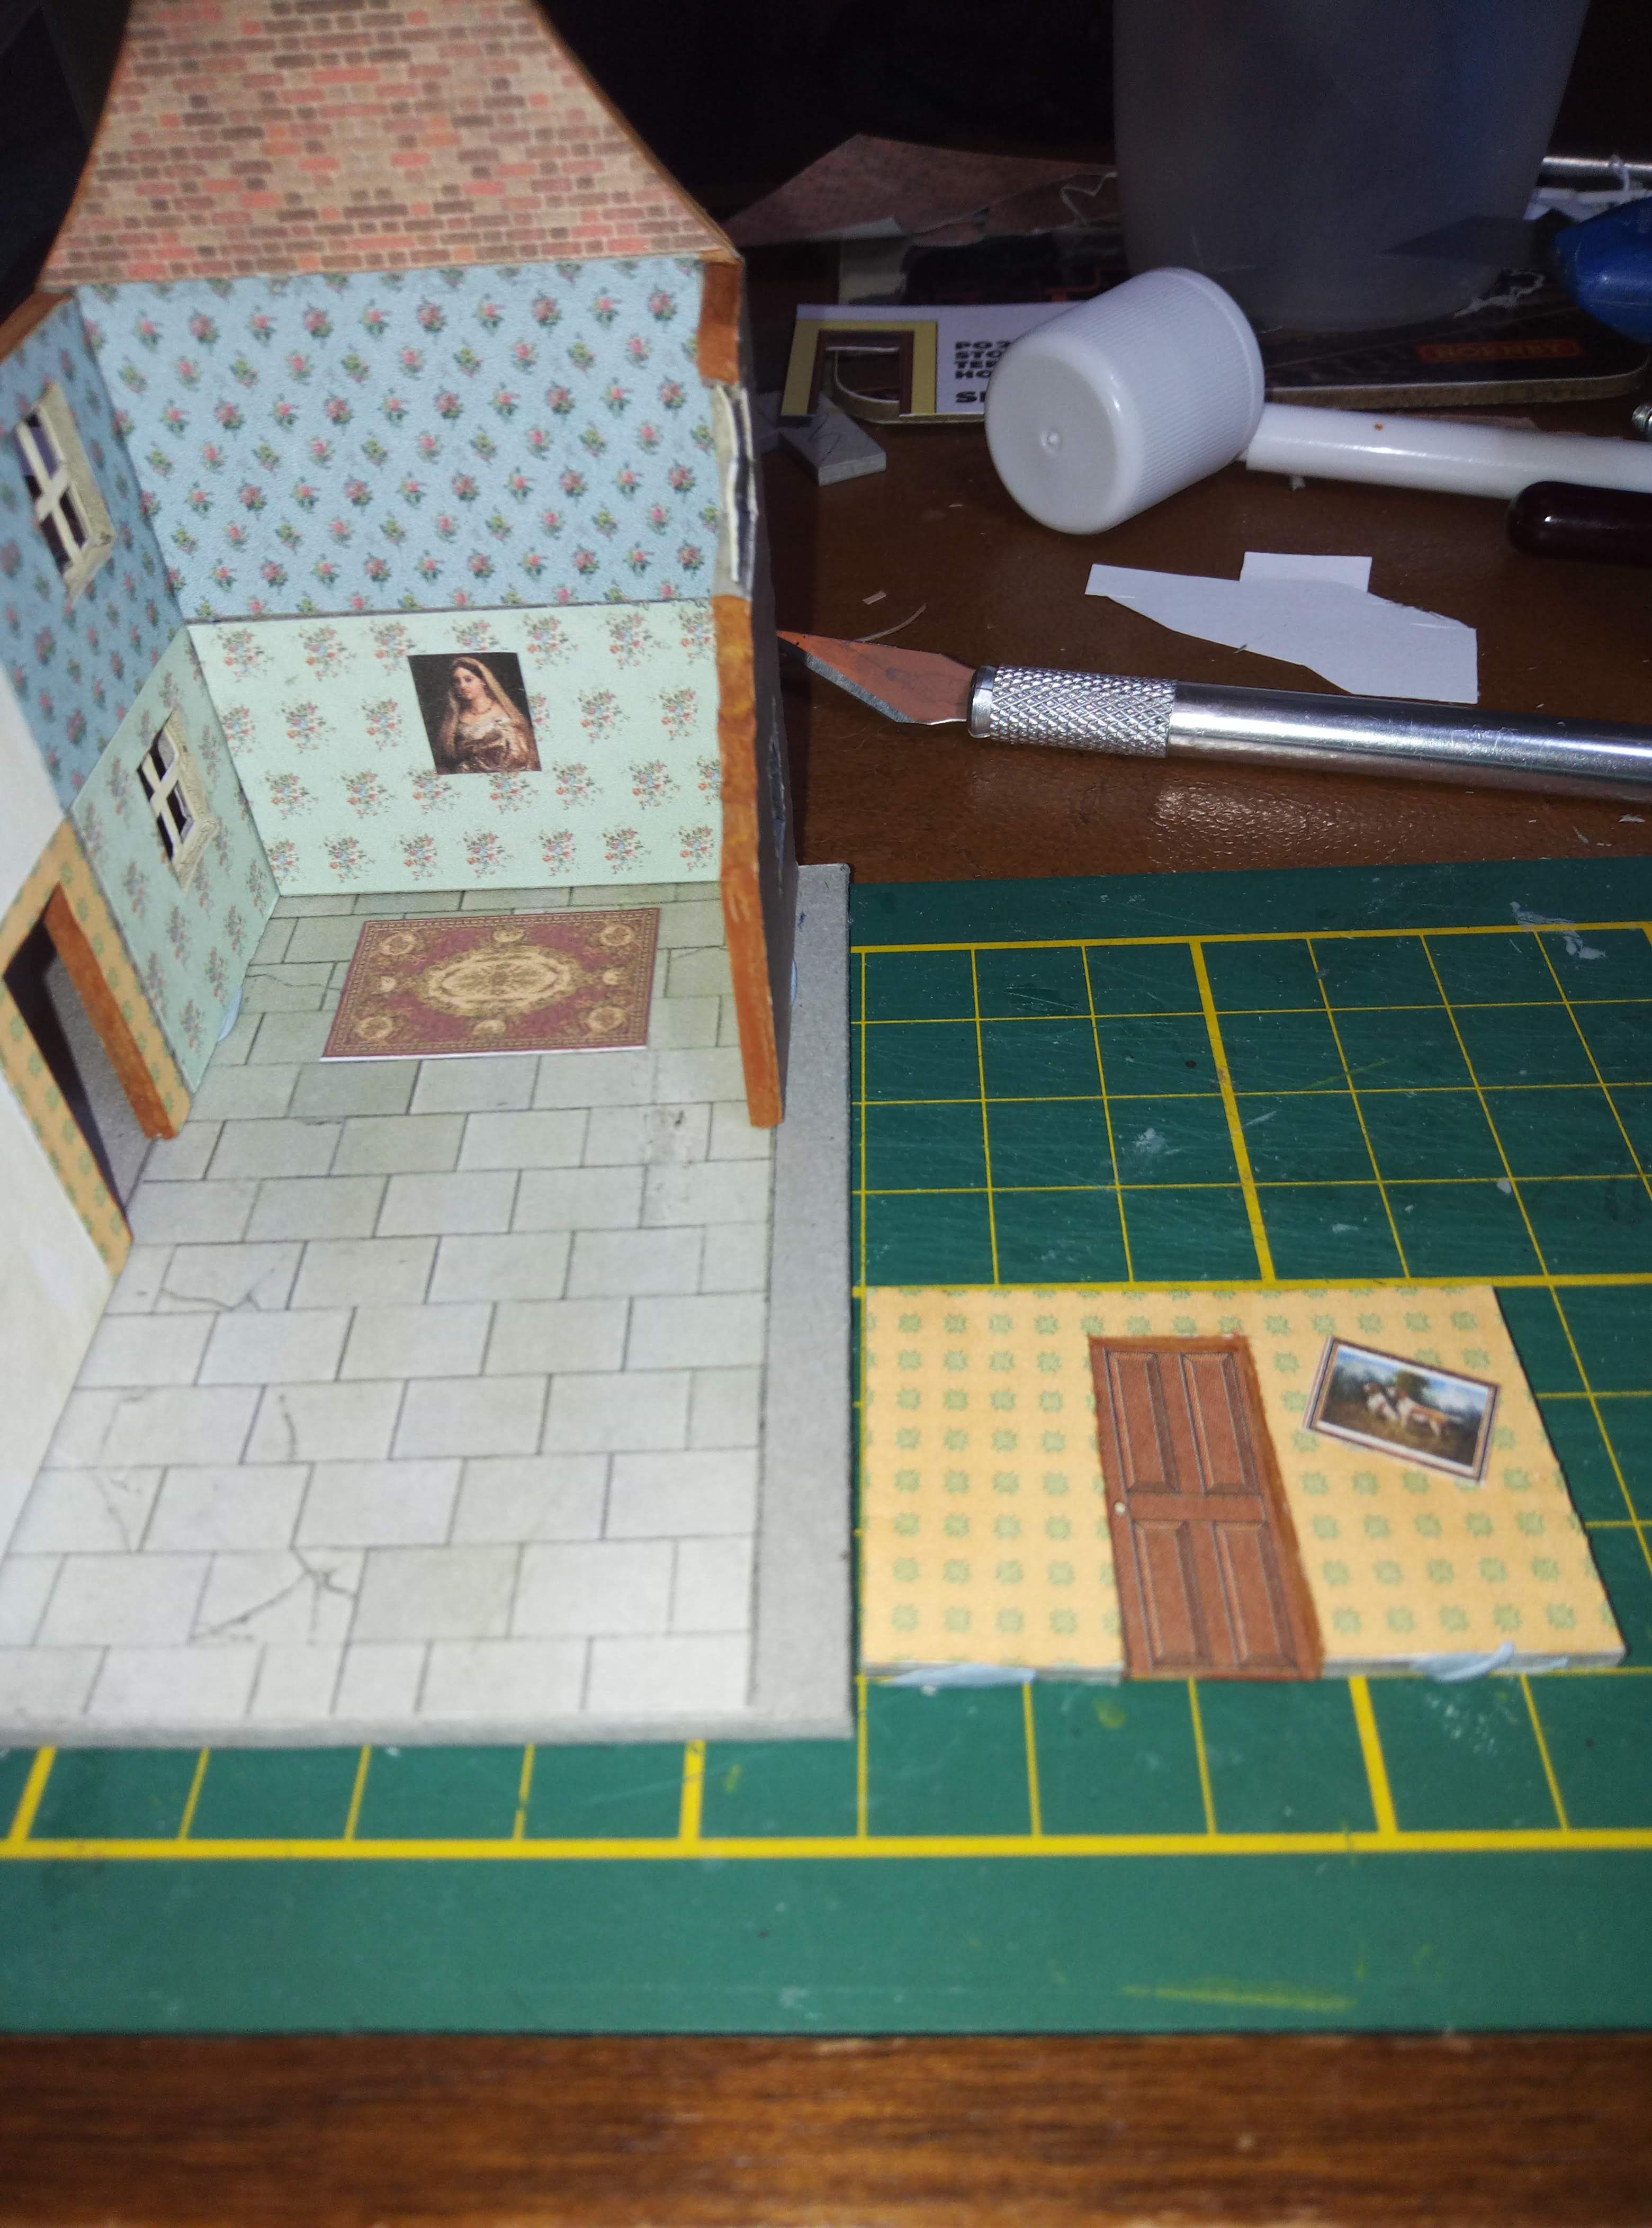
| Once the exterior had been covered in brick paper the interior was decorated with a selection of 1940's wallpapers from Here |
 |
| The upstairs bathroom and kitchen were just whitewashed while the living room, hallway and master bedroom were papered. The attic wall was covered with brick paper. |

 |
| Next I cut a piece of mounting board and papered it with the relevant wall paper to make the hallway. |

 |
| Taking a spare copy of the original model I cut out the window frames using a scalpel and carefully fitted them into the window slots. because the mounting board is much thicker than the 200gsm card I printed the house on the frames fitted nicely inside the gaps and created a rebate. |

 |
| Exposed edges were then painting in a brick colour which roughly matched the brick paper and the inside of the window frames were painted white. I've also added some more walls for the hallway to mark where the kitchen door was located. |


 |
| Next I started to add some extra details some pictures on the walls and a rug on the living room floor courtesy of Wordsworth Model Railways household and white goods set. |

 |
| Airfix German for scale. |
 |
| I then used GW inks and washes to weather the house, concentrating on the tops of the walls to make it look as though water had been running down |
 |
| Once the interior was complete it was back to the exterior and adding the render in the form of the original model. I think with hindsight the cut on the render is far too neat and smooth I should have made it more jagged as if the render had been blown off. I also cut out the shutters and window sills and lintels from the spare copy of the model and added them to the windows. |
 |
| The back of the house |
 |
| I think this render looks more realistic as the cuts are more jagged and angular. I lso put small pieces of mounting board under the render near the cuts to make it look as though the render was coming off the wall. |
 |
| The ceiling was added onto the living room using white 200gsm card and then had balsa wood 'joists' added |
 |
| The ceiling was then covered by a wooden floor with numerous planks cut out and the bedroom ceiling was added along with the roof joists. |
 |
| testing the roof to see where it needed to be cut |
 |
| The roof has been cut and fitted to the model. |

 |
| The edges of the tiles were coloured in a similar reddish orange and the render was edged in grey which helped to disguise the smoother edges somewhat. |


 |
| sandbags were added outside of the house to make it look as though it had been used as a guard house or command post. These were made out of modelling putty. |
 |
| The floors inside were now weathered and rubble and debris added from the left over bits of wooden flooring and brick work papers. |
 |
| The exterior was also weathered and the base was covered in sand and painted a dark brown. |
 |
| Tiling the roof with individual strips of tiles to give greater relief on the roof |

 |
| Sand bags have now been painted with a thin coat of desert yellow and flock has been added around the base as well as a dry brush of some lighter browns. |

 |
| This HaT mortar commander was chosen to represent the Colonel in the scenario and he was based so that he would blend in with the upper storeys. |


If I'm honest I haven't quite finished it as I haven't finished adding all the roof tile strips and the balsa wood rafters need a good stain and weathering as does the white inside of the roof and I forgot to paint the edges of the base but the boy's loved it and it worked well in the battle. It was also extremely cheap as I already had all of the items needed to build it left over from other projects so there was no extra expenditure :-)
A very interesting walk through of your process.
ReplyDeleteThank you
Your welcome, glad you found it interesting 👍
DeleteThat is a fantastic conversion, well done and thank you
ReplyDeleteGlad you liked it. It took a quote a few nights to get it looking decent but I'm pretty happy with the result.
Delete